
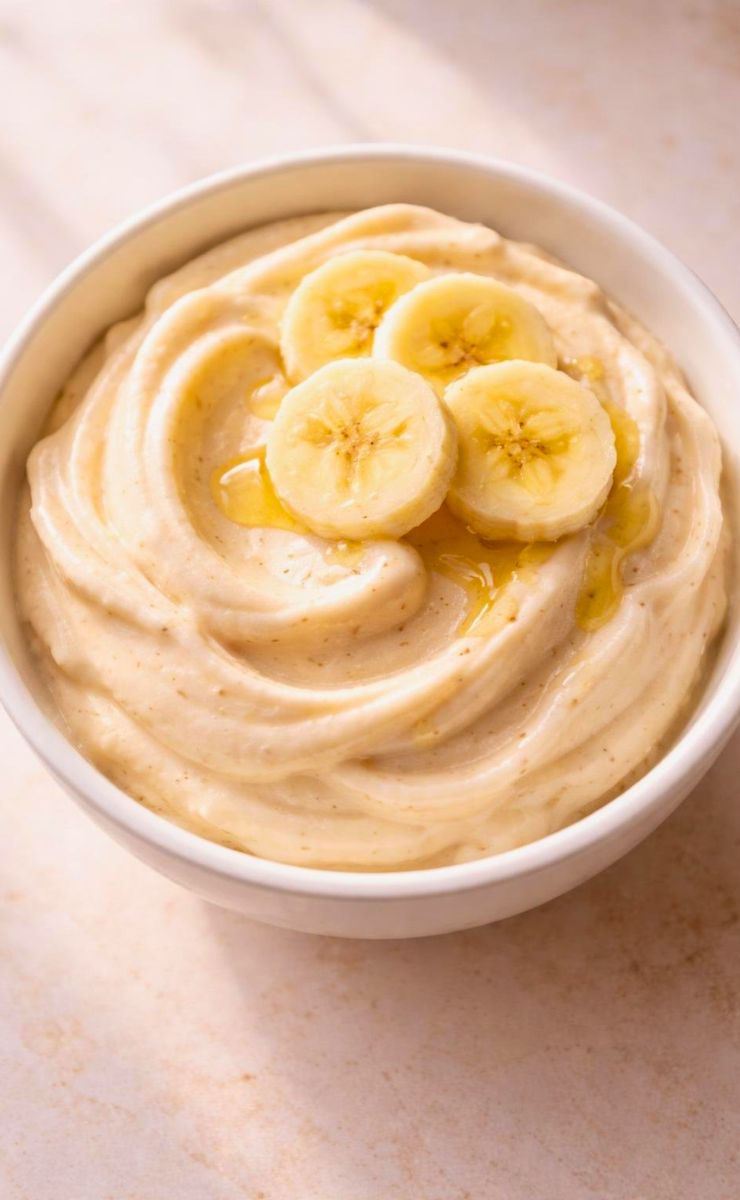
The Ninja Creami Banana Ice Cream Recipe is creamy, sweet and very easy to make. It uses simple ingredients and gives amazing results.
If you love quick desserts, this Ninja Creami Banana Ice Cream Recipe is perfect for you. Today, I will show you how to make Ninja Creami Banana Ice Cream step by step.
The ingredients for Ninja Creami Banana Ice Cream Recipe are basic, healthy and easy to find in any kitchen.
Why I Love Making This Ninja Creami Banana Ice Cream
I first made this ice cream on a hot afternoon. I had ripe bananas sitting on my counter. Instead of wasting them, I tried this recipe.
The result surprised me. It was creamy, smooth and naturally sweet. I love that it feels like a treat but is still simple.
It is perfect when you want something quick and homemade. Now, it has become a regular dessert at my home. My family loves it every time.
Equipment List
- Ninja Creami machine
- Freezer-safe container (Creami pint)
- Blender or fork for mashing
- Spoon or spatula
- Measuring cups
Recipe Overview
- Recipe Name: Ninja Creami Banana Ice Cream
- Servings: 2–3
- Prep Time: 10 minutes
- Cook Time: 0 minutes
- Total Time: 8–10 hours (including freezing time)
- Course: Dessert
- Cuisine: American-style
- Calories: ~180 kcal per serving
Ingredients You Need for Ninja Creami Banana Ice Cream Recipe
- 3 ripe bananas
- ½ cup milk (any type)
- 1 tablespoon honey or sugar (optional)
- 1 teaspoon vanilla extract
- Pinch of salt
Step-by-Step Guide
1. Prepare the Bananas
Peel the ripe bananas and cut them into small slices. Place them in a bowl. Mash them using a fork or blend until smooth. The mixture should look creamy with no large lumps left.
2. Mix the Ingredients
Add milk, honey, vanilla extract and a pinch of salt to the mashed bananas. Stir well until everything combines smoothly. This mixture will become your ice cream base. Make sure it is even and creamy.
3. Pour into Container
Pour the mixture into your Creami pint container. Spread it evenly using a spoon. Tap lightly to remove air bubbles. This helps the ice cream freeze evenly and gives a smooth texture later.
4. Freeze Overnight
Place the container in the freezer. Let it freeze for at least 8 hours or overnight. This step is very important. A fully frozen base gives the best creamy result.
5. Process in Ninja Creami
Remove the frozen pint from the freezer. Place it into the Ninja Creami machine. Select the “Ice Cream” or “Lite Ice Cream” setting. Let the machine do its magic.
6. Check Texture
After the first spin, check the texture. If it looks crumbly, do not worry. This is normal. It just needs one more spin to become creamy.
7. Re-spin for Smoothness
Select the “Re-spin” option on your machine. This makes the texture smooth and creamy. It will look like soft serve ice cream after this step.
8. Serve Fresh
Scoop the ice cream into bowls. Serve immediately for best taste. You can also add toppings if you like. Enjoy your homemade banana ice cream.
Read More: Mary Berry Flapjacks Recipe
Expert Tips & Variations
- Use very ripe bananas for natural sweetness
- Add peanut butter for a nutty flavor
- Mix in chocolate chips after first spin
- Use coconut milk for dairy-free option
- Add cinnamon for a warm flavor twist
- Freeze mixture flat for faster freezing
History or Fun Fact About the Dish
Banana ice cream is often called “nice cream.” It became popular as a healthy dessert option. People love it because it uses natural sweetness from bananas.
Machines like the Ninja Creami made it even easier. Now anyone can make creamy ice cream at home without effort.
Pairings & Complementary Recipes
This banana ice cream pairs well with chocolate syrup. I love adding crushed cookies on top. It also tastes great with fresh berries.
You can serve it with pancakes or waffles. It also works as a side dessert with cakes or brownies.
Occasion or Event Ideas
This recipe is perfect for summer days. It is also great for quick desserts after dinner. Kids love it because it is sweet and creamy. I often make it for family movie nights. It is simple but feels special every time.
Storage and Reheating Tips
- Store in freezer for up to 1 week
- Keep covered to avoid ice crystals
- Re-spin before serving if frozen hard
- Do not leave outside too long
- Avoid refreezing many times
Nutrition Information
| Nutrient | Amount per Serving |
|---|---|
| Calories | 180 kcal |
| Carbs | 30g |
| Protein | 3g |
| Fat | 3g |
| Sugar | 18g |
Health Benefits
This ice cream is made mostly from bananas. Bananas are rich in potassium and fiber. They help with energy and digestion.
This dessert is lighter than regular ice cream. It has less fat and fewer added sugars. It is a better choice for a simple treat.
Read More: Mascarpone Cheese Cream Recipe
Ninja Creami Banana Ice Cream Recipe
Ingredients
- 3 ripe bananas
- ½ cup milk any type
- 1 tablespoon honey or sugar optional
- 1 teaspoon vanilla extract
- Pinch of salt
Instructions
Prepare the Bananas
- Peel the ripe bananas and cut them into small slices. Place them in a bowl. Mash them using a fork or blend until smooth. The mixture should look creamy with no large lumps left.
Mix the Ingredients
- Add milk, honey, vanilla extract and a pinch of salt to the mashed bananas. Stir well until everything combines smoothly. This mixture will become your ice cream base. Make sure it is even and creamy.
Pour into Container
- Pour the mixture into your Creami pint container. Spread it evenly using a spoon. Tap lightly to remove air bubbles. This helps the ice cream freeze evenly and gives a smooth texture later.
Freeze Overnight
- Place the container in the freezer. Let it freeze for at least 8 hours or overnight. This step is very important. A fully frozen base gives the best creamy result.
Process in Ninja Creami
- Remove the frozen pint from the freezer. Place it into the Ninja Creami machine. Select the “Ice Cream” or “Lite Ice Cream” setting. Let the machine do its magic.
Check Texture
- After the first spin, check the texture. If it looks crumbly, do not worry. This is normal. It just needs one more spin to become creamy.
Re-spin for Smoothness
- Select the “Re-spin” option on your machine. This makes the texture smooth and creamy. It will look like soft serve ice cream after this step.
Serve Fresh
- Scoop the ice cream into bowls. Serve immediately for best taste. You can also add toppings if you like. Enjoy your homemade banana ice cream.
Notes
- Use very ripe bananas for natural sweetness
- Add peanut butter for a nutty flavor
- Mix in chocolate chips after first spin
- Use coconut milk for dairy-free option
- Add cinnamon for a warm flavor twist
- Freeze mixture flat for faster freezing
FAQs about Ninja Creami Banana Ice Cream Recipe
1. Can I make this recipe without a Ninja Creami?
Yes, you can freeze the mixture and blend it again. But the texture may not be as smooth. The machine gives a creamier and softer result.
2. Why is my ice cream crumbly after first spin?
This is normal with the Ninja Creami Banana Ice Cream Recipe. Just use the re-spin function. It will become smooth and creamy after that.
3. Can I make this dairy-free?
Yes, you can use almond milk or coconut milk. The taste will change slightly but still be delicious and creamy.
4. How to make Ninja Creami Banana Ice Cream sweeter?
Add honey, sugar or maple syrup. You can also use extra ripe bananas. They are naturally sweeter and give better flavor.
5. Can I add other fruits?
Yes, you can mix strawberries or mango. Blend them with bananas before freezing. This creates fun and tasty variations.
Final Thoughts
The Ninja Creami Banana Ice Cream Recipe is simple, healthy and delicious. It is perfect for quick desserts at home.
With just a few ingredients, you get a creamy treat. Try it once and it will become your favorite. Enjoy every smooth and sweet bite.

Zoey Lane is the voice behind ZoeyCooks.com, where she shares comforting, home-tested recipes inspired by everyday cooking. She believes great food should be simple, approachable and enjoyable to make.