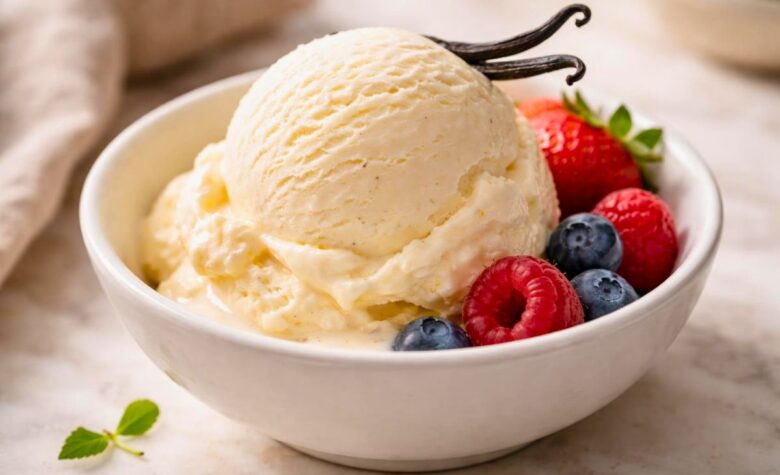
If you love rich, creamy desserts, this Mary Berry Vanilla Ice Cream Recipe is perfect. It’s smooth, sweet and full of classic vanilla flavor. Making ice cream at home is easier than you think.
With simple ingredients and clear steps, you can learn how to make Mary Berry Vanilla Ice Cream Recipe that tastes just like a professional dessert. This recipe is a family favorite and perfect for any occasion.
Why I Love Making This Mary Berry Vanilla Ice Cream
I still remember the first time I made this ice cream. It was a hot summer day, and my kids wanted something sweet and cool. I followed Mary Berry’s simple method and in just a few steps, we had creamy vanilla ice cream.
Everyone loved it. It’s smooth, not too sweet and full of real vanilla flavor. I also love that it’s homemade, so I know exactly what’s inside. Making this recipe feels special but never complicated.
Equipment List
- Mixing bowl (large)
- Saucepan
- Wooden spoon
- Whisk
- Ice cream maker (optional, but recommended)
- Measuring cups and spoons
- Freezer-safe container with lid
Recipe Overview
- Recipe Name: Mary Berry Vanilla Ice Cream Recipe
- Servings: 6–8
- Prep Time: 15 mins
- Cook Time: 10 mins
- Total Time: 25 mins (+freezing time)
- Course: Dessert
- Cuisine: British
- Calories: 280 kcal per serving
Ingredients You Need for Mary Berry Vanilla Ice Cream Recipe
- 500 ml double cream
- 300 ml whole milk
- 150 g caster sugar
- 1 vanilla pod (or 2 tsp vanilla extract)
- 4 large egg yolks
Step-by-Step Guide
1. Prepare the Vanilla
Split the vanilla pod lengthwise. Scrape out the seeds with a knife. Add the seeds and pod to the milk and cream mixture. This gives a natural, strong vanilla flavor.
2. Heat the Cream and Milk
Pour cream and milk into a saucepan. Add sugar and vanilla seeds/pod. Heat gently on medium heat, stirring occasionally. Do not boil. Warm until sugar dissolves.
3. Beat the Egg Yolks
Place egg yolks in a bowl. Whisk until smooth and slightly pale. This adds richness and creaminess to the ice cream.
4. Temper the Eggs
Slowly pour a small amount of hot cream mixture into the yolks, whisking constantly. This prevents the eggs from cooking too fast. Gradually add all cream, whisking.
5. Cook the Custard
Return mixture to the saucepan. Cook gently over low heat. Stir constantly with a wooden spoon. Cook until it thickens enough to coat the back of the spoon. Remove from heat.
6. Cool the Mixture
Pour custard through a sieve into a clean bowl. Remove vanilla pod. Let it cool to room temperature. Cover and chill in the fridge for at least 2 hours.
7. Churn the Ice Cream
Pour chilled custard into an ice cream maker. Follow the manufacturer’s instructions. Churn until it reaches a soft-serve texture.
8. Freeze Until Firm
Transfer ice cream to a freezer-safe container. Cover and freeze for 4–6 hours, or overnight, until firm.
9. Serve and Enjoy
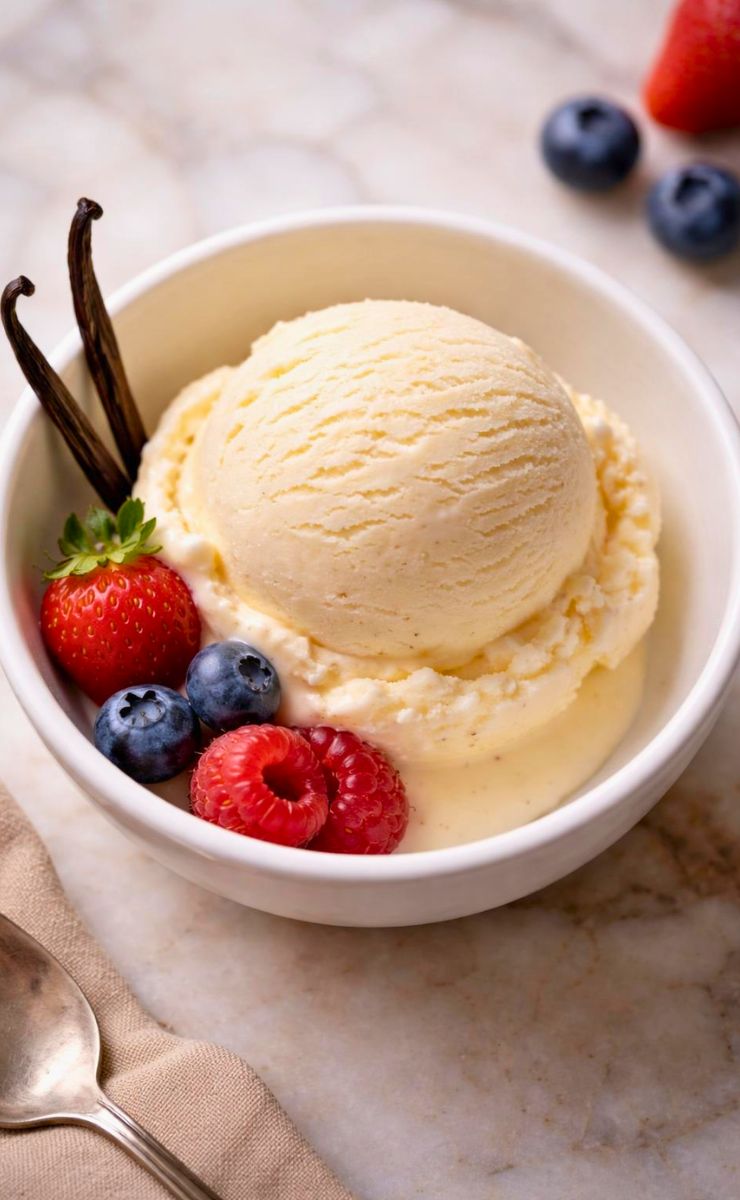
Scoop ice cream into bowls or cones. Top with fresh berries, chocolate sauce or a sprinkle of nuts. Enjoy creamy, homemade vanilla ice cream!
Read More: Chewy Pecan Pie Cookies Recipe
Expert Tips & Variations
- Use a vanilla pod for the best flavor; extract works if needed.
- Stir the custard constantly to avoid curdling.
- Add chocolate chips or crushed cookies before freezing for extra texture.
- Use full-fat milk and cream for a richer taste.
- Make a smaller batch if trying for the first time.
History or Fun Fact About the Dish
Vanilla ice cream became popular in Europe in the 18th century. Mary Berry, a famous British chef, is known for perfecting classic desserts.
Her recipes make traditional treats simple for home cooks. Fun fact: real vanilla pods come from orchids and are hand-pollinated, making them a luxury ingredient in ice cream.
Pairings & Complementary Recipes
- Warm chocolate brownie
- Fresh fruit salad
- Apple crumble
- Lemon drizzle cake
- Homemade waffle or crepe
Occasion or Event Ideas
- Summer parties
- Birthday celebrations
- Family dinners
- Afternoon tea
- Holiday gatherings
Storage and Reheating Tips
- Store ice cream in a freezer-safe container with a lid.
- Keeps up to 1 week for best quality.
- Avoid frequent thawing to maintain creaminess.
- Scoop straight from the freezer to prevent melting.
- No reheating needed; serve chilled.
Nutrition Information
| Nutrient | Amount per Serving |
|---|---|
| Calories | 280 kcal |
| Protein | 5 g |
| Fat | 18 g |
| Carbohydrates | 25 g |
| Sugar | 23 g |
| Fiber | 0 g |
Health Benefits
This ice cream contains protein and calcium from eggs and dairy. Using real vanilla adds flavor without artificial additives.
While it’s a treat, homemade ice cream is better than store-bought versions with preservatives. Enjoy in moderation for a sweet, healthy dessert.

Mary Berry Vanilla Ice Cream Recipe
Ingredients
- 500 ml double cream
- 300 ml whole milk
- 150 g caster sugar
- 1 vanilla pod or 2 tsp vanilla extract
- 4 large egg yolks
Instructions
Prepare the Vanilla
- Split the vanilla pod lengthwise. Scrape out the seeds with a knife. Add the seeds and pod to the milk and cream mixture. This gives a natural, strong vanilla flavor.
Heat the Cream and Milk
- Pour cream and milk into a saucepan. Add sugar and vanilla seeds/pod. Heat gently on medium heat, stirring occasionally. Do not boil. Warm until sugar dissolves.
Beat the Egg Yolks
- Place egg yolks in a bowl. Whisk until smooth and slightly pale. This adds richness and creaminess to the ice cream.
Temper the Eggs
- Slowly pour a small amount of hot cream mixture into the yolks, whisking constantly. This prevents the eggs from cooking too fast. Gradually add all cream, whisking.
Cook the Custard
- Return mixture to the saucepan. Cook gently over low heat. Stir constantly with a wooden spoon. Cook until it thickens enough to coat the back of the spoon. Remove from heat.
Cool the Mixture
- Pour custard through a sieve into a clean bowl. Remove vanilla pod. Let it cool to room temperature. Cover and chill in the fridge for at least 2 hours.
Churn the Ice Cream
- Pour chilled custard into an ice cream maker. Follow the manufacturer’s instructions. Churn until it reaches a soft-serve texture.
Freeze Until Firm
- Transfer ice cream to a freezer-safe container. Cover and freeze for 4–6 hours, or overnight, until firm.
Serve and Enjoy
- Scoop ice cream into bowls or cones. Top with fresh berries, chocolate sauce or a sprinkle of nuts. Enjoy creamy, homemade vanilla ice cream!
Notes
- Use a vanilla pod for the best flavor; extract works if needed.
- Stir the custard constantly to avoid curdling.
- Add chocolate chips or crushed cookies before freezing for extra texture.
- Use full-fat milk and cream for a richer taste.
- Make a smaller batch if trying for the first time.
FAQs about Mary Berry Vanilla Ice Cream Recipe
Can I make this without an ice cream maker?
Yes! Pour the chilled custard into a container. Freeze for 4–6 hours, stirring every 30 minutes. It won’t be as smooth, but still creamy.
Can I use vanilla extract instead of a pod?
Absolutely. Use 2 tsp of high-quality vanilla extract. The flavor will be slightly different but still delicious.
How long does homemade ice cream last?
Stored properly in a sealed container, it lasts up to one week. For best texture and flavor, consume sooner.
Can I add toppings before freezing?
It’s better to add toppings when serving. Mix-ins like chocolate chips can be folded into the custard before freezing.
Is this recipe suitable for kids?
Yes, it’s safe for children. Use fresh, pasteurized eggs if desired. They will love the creamy vanilla flavor.
Final Thoughts
The Mary Berry Vanilla Ice Cream Recipe is a simple, classic dessert. It’s creamy, sweet and full of vanilla flavor. Making ice cream at home is easier than most think.
Serve it on its own or with cakes, fruits or warm desserts. Everyone will love your homemade creation!

Zoey Lane is the voice behind ZoeyCooks.com, where she shares comforting, home-tested recipes inspired by everyday cooking. She believes great food should be simple, approachable and enjoyable to make.